Introduction #
Having a hierarchy of team members is essential to managing projects and assigning tasks. Kaamfu helps you maintain your organization’s employee hierarchy by allowing role-based classification, making workflows simpler and keeping tasks organized. This article explains how to set membership levels for your team members in Kaamfu.
.
Why This Feature Matters #
Clear role-based access ensures that team members have the right permissions for their responsibilities. It prevents unauthorized changes, keeps sensitive data secure, and improves overall workflow efficiency. By setting membership levels correctly, owners and admins can maintain control over Spaces, Boards, and Items while allowing team members to collaborate effectively.
.
Who Should Read This #
This article is relevant for:
- Organization Owners → to manage hierarchy and permissions
- Admins → to understand how to assign and modify membership levels
- Team Leads → to see which team members have access to which Spaces, Boards, and Items
- Employees → to understand their level of access and responsibilities
This guide ensures all stakeholders understand membership roles.
.
What This Guide Covers #
This guide explains:
- The Directory and its tabs
- How to add members to Spaces, Boards, and Items
- Shortcut to view membership
- Different membership levels
- How to set or change the membership level of a user
By the end, you’ll know how to manage your team’s hierarchy efficiently in Kaamfu.
.
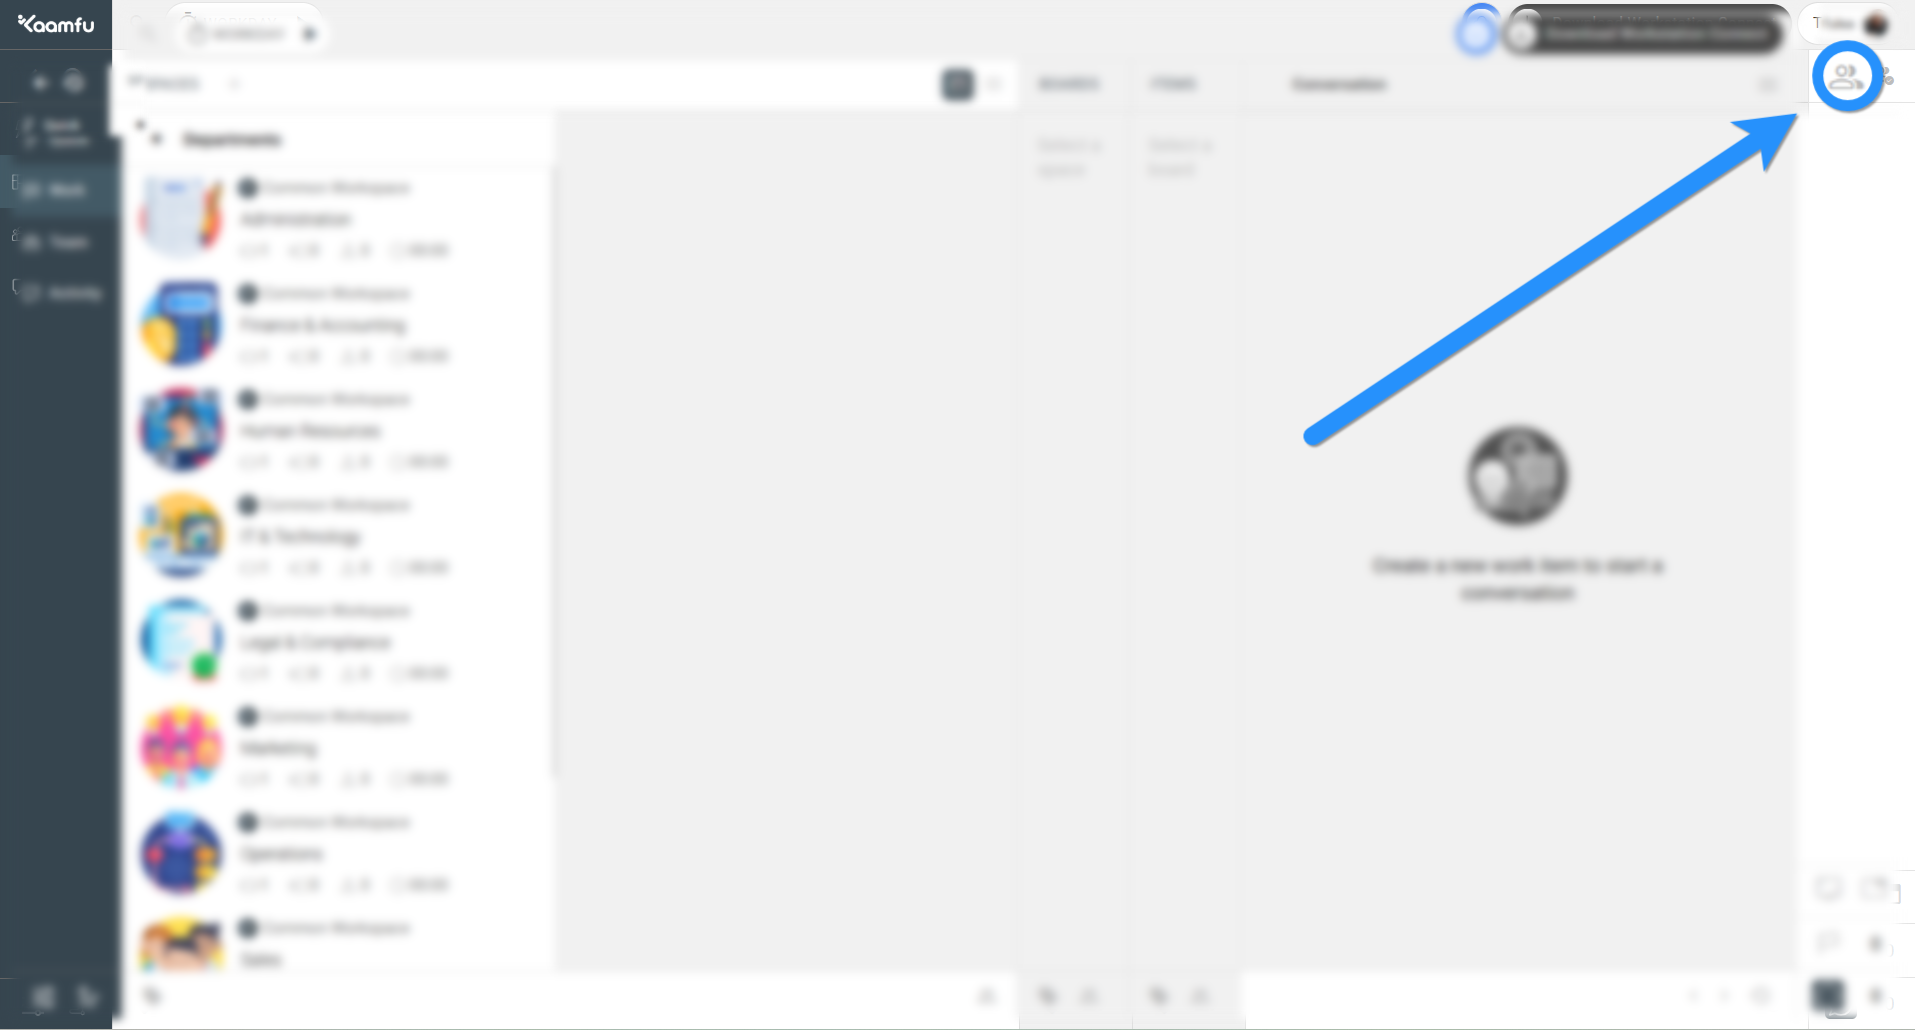
Feature Overview #
The Directory is the central place to manage all team members in Kaamfu. It allows owners and admins to control access to Spaces, Boards, and Items based on assigned roles.
.
 .
.
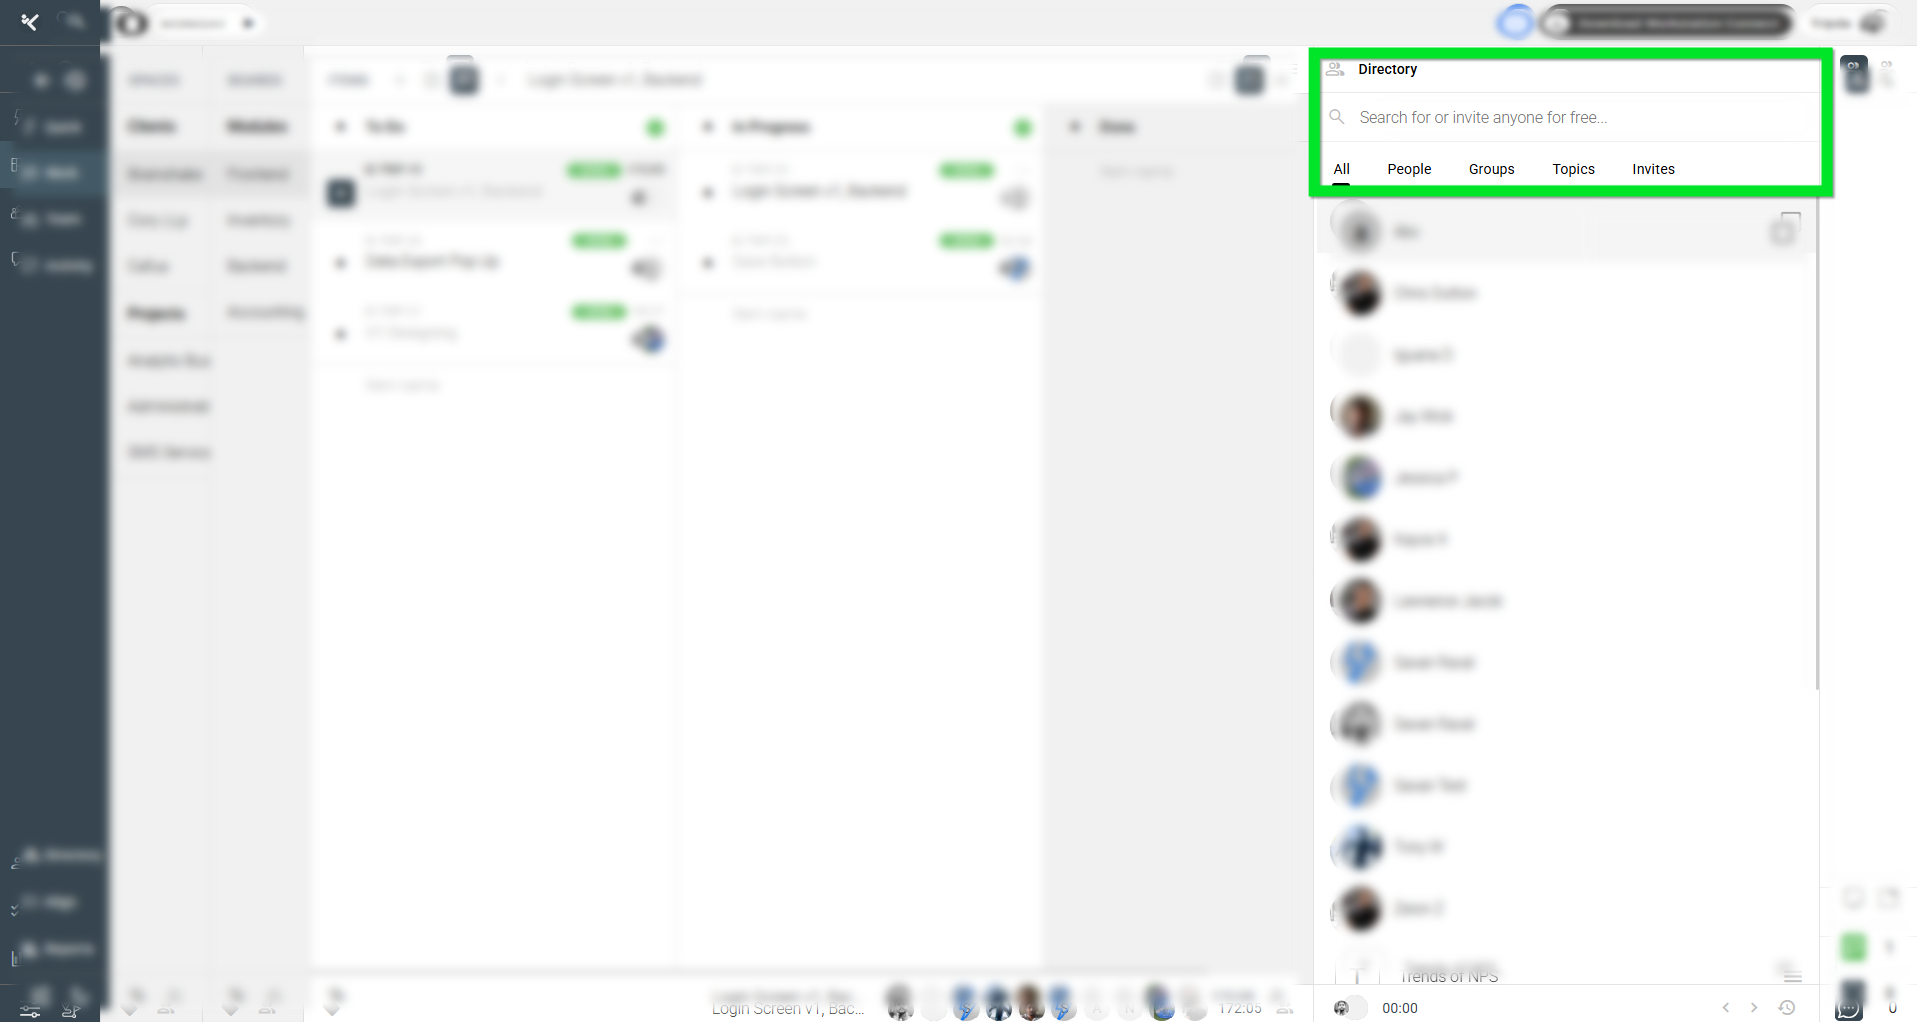
The Directory has the following tabs:
- All → lists all members and groups in the workspace
- People → lists all individual members
- Group → lists all groups created in the workspace
- Invited → lists members who have been invited but not yet joined
- Topic → lists all topics created in the workspace for contextual organization
- These tabs help organize members and groups for easy access and management.
.
 .
.
Adding a member to a Space, Board, or Item can be done directly from the Work Panel by hovering over an item and clicking Membership. The Directory opens in the Members tab, allowing you to select the member(s) you wish to add.
GIF
Shortcut to view membership is available as profile bubbles at the bottom of any Space, Board, or Item, giving a quick overview of who has access.
GIF
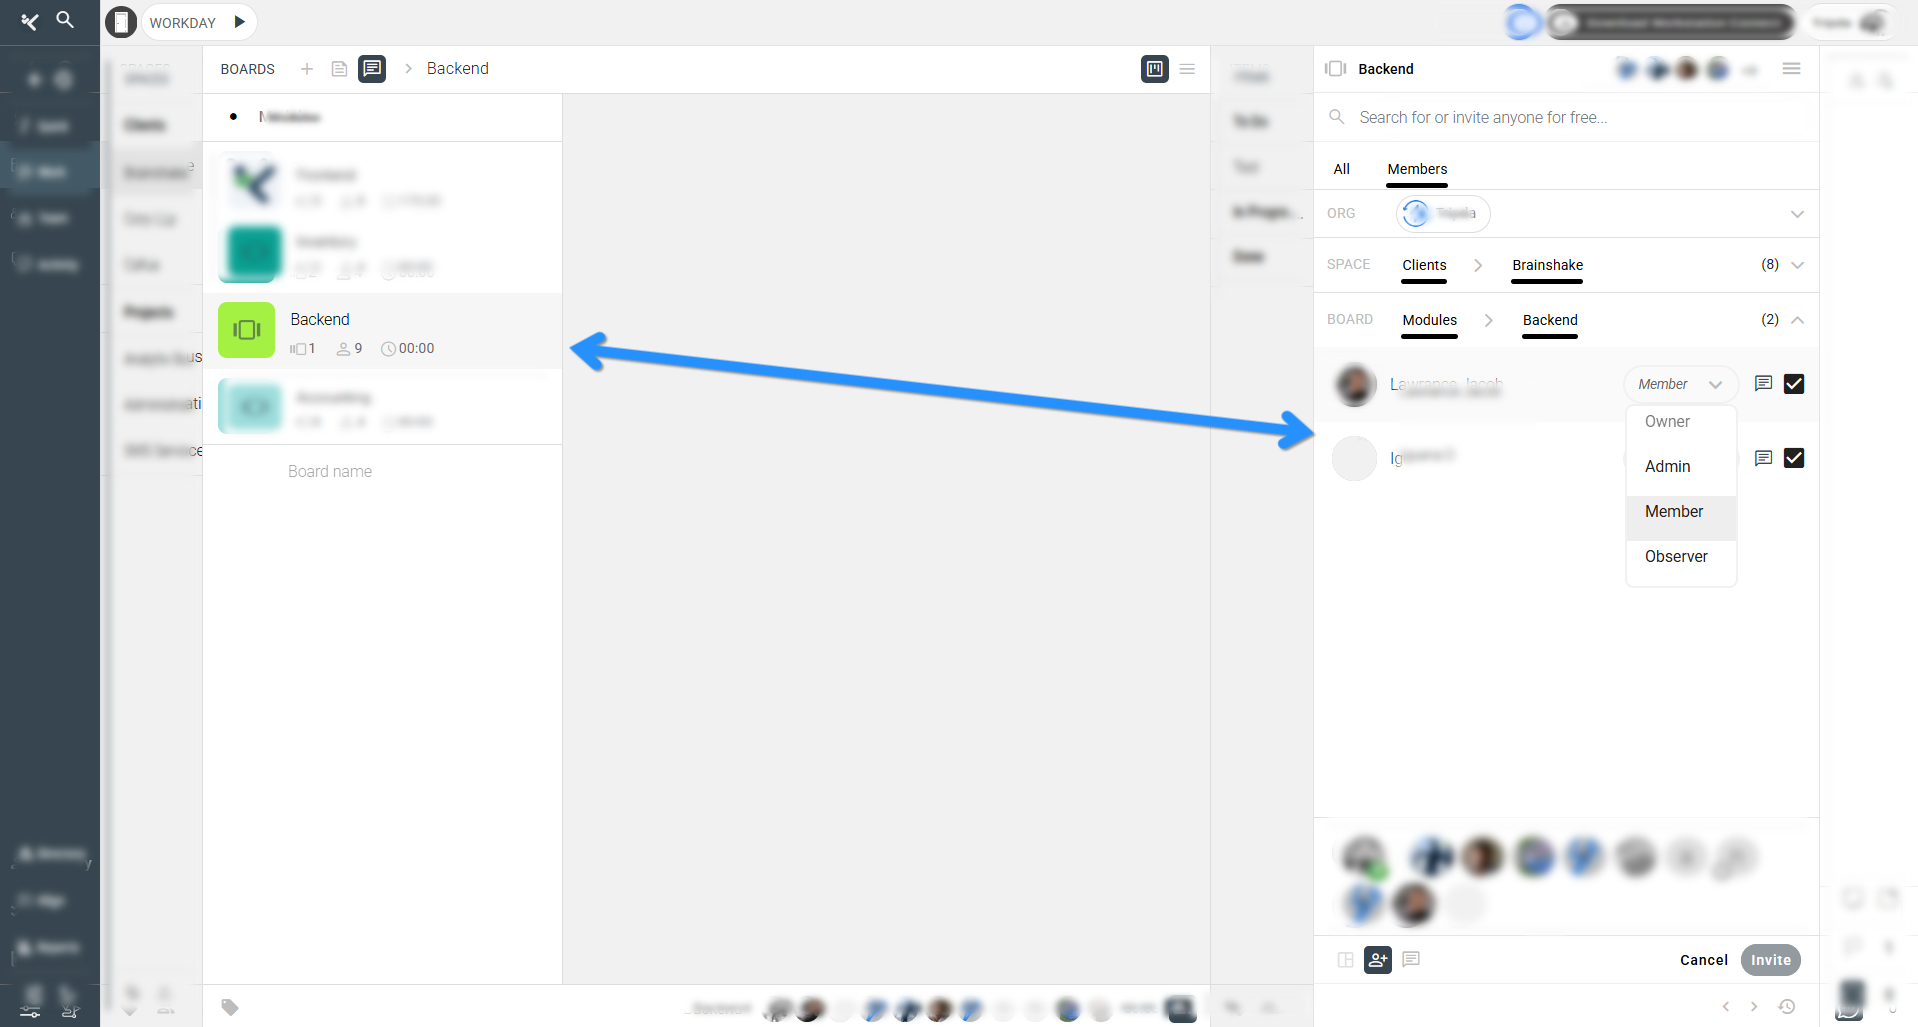
Membership levels determine the level of access a user has:
- Owner → creator of the Board with full access
- Admin → granted permission by the Owner to manage tasks
- Member → added by Admin or Owner with limited access
- Observer → view-only access without editing privileges
Understanding these levels ensures appropriate access control for team collaboration.
. ..
..
💡 Key Benefits #
Setting membership levels provides several benefits:
- Controlled Access → only authorized users can modify tasks and boards
- Improved Collaboration → team members see and work on relevant items
- Transparency → clear visibility of roles and responsibilities
- Workflow Efficiency → reduces accidental changes and keeps projects organized
Proper role assignment enhances productivity and minimizes errors.
.
🛠️ Practices / How-To / Steps #
Step 1
Hover over the Space, Board, or Item where you want to set membership and click Membership.
Step 2
In the Membership pane, go to the Members tab and find the member whose level you want to set.
Step 3
Click the drop-down menu next to their name to select the membership level (Owner, Admin, Member, Observer).
Step 4
After making changes, click Change to save the new membership level.
These steps ensure members have the correct permissions according to their role.
GIF
.
🔗 Related Resources #
- Kaamfu Work Panel Overview
- How to Assign Tasks in Kaamfu
- Managing Contextual Conversations in Kaamfu